- Welcome to Launch X431 Store
- WhatsApp: 8613421344069


If you work in the automotive diagnostics field, you know that modern vehicle immobilizer systems can be both a blessing and a curse. They provide excellent security, but when you need to add a new key or replace a lost one, the process can quickly become a headache. Fortunately, tools like the Launch X431 IMMO Plus combined with the X-PROG5 programmer have made this task significantly more accessible for professional technicians and advanced DIYers alike.
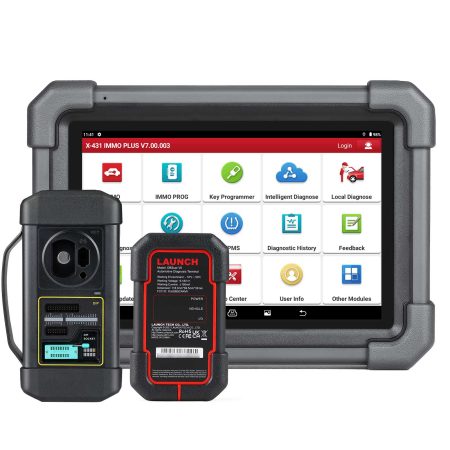
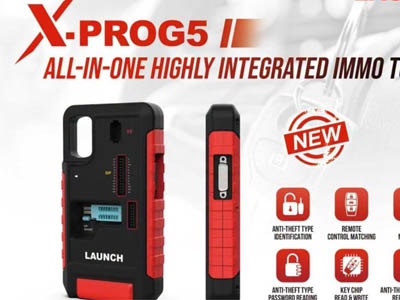
The Launch X431 X-PROG5 is a versatile 3-in-1 IMMO programmer that works seamlessly with X431 diagnostic tablets and computers. It supports reading, writing, and cloning of engine and transmission ECUs, but one of its most valuable functions is its ability to act as a dedicated key programmer. In this guide, I’ll walk you through the entire process of adding a new key to a Peugeot 3008 (2016+) using the Launch X431 IMMO Plus tablet and the X-PROG5 programmer. Whether you're a seasoned technician or just getting started with immobilizer work, this tutorial will give you a clear, actionable roadmap.
The first step is to prepare your new blank key by writing the correct remote data onto its chip. Connect the X-PROG5 programmer to your X431 IMMO Plus tablet and to the Peugeot vehicle using the appropriate cables. On your tablet, navigate through the menu as follows: Vehicle Remote → Peugeot → All remote → 3008 (2016+) Remote FSK ID4A.
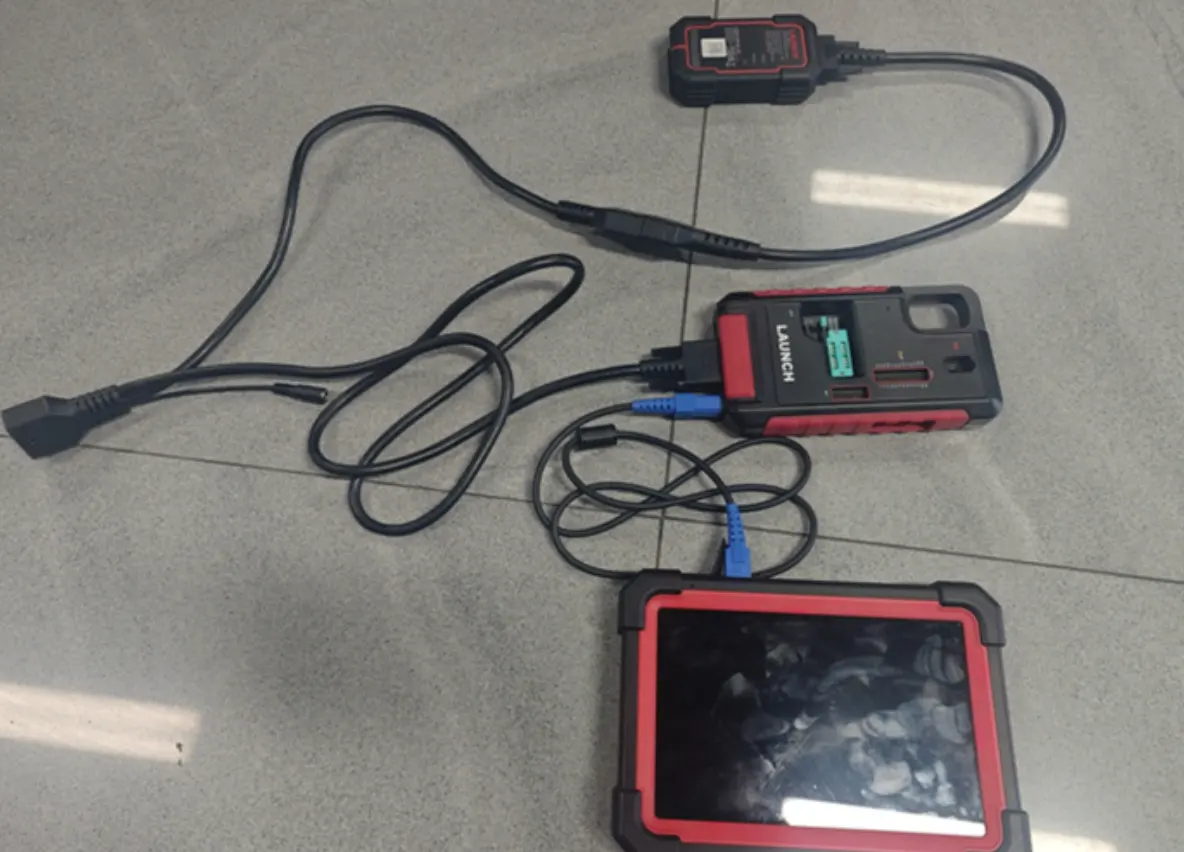
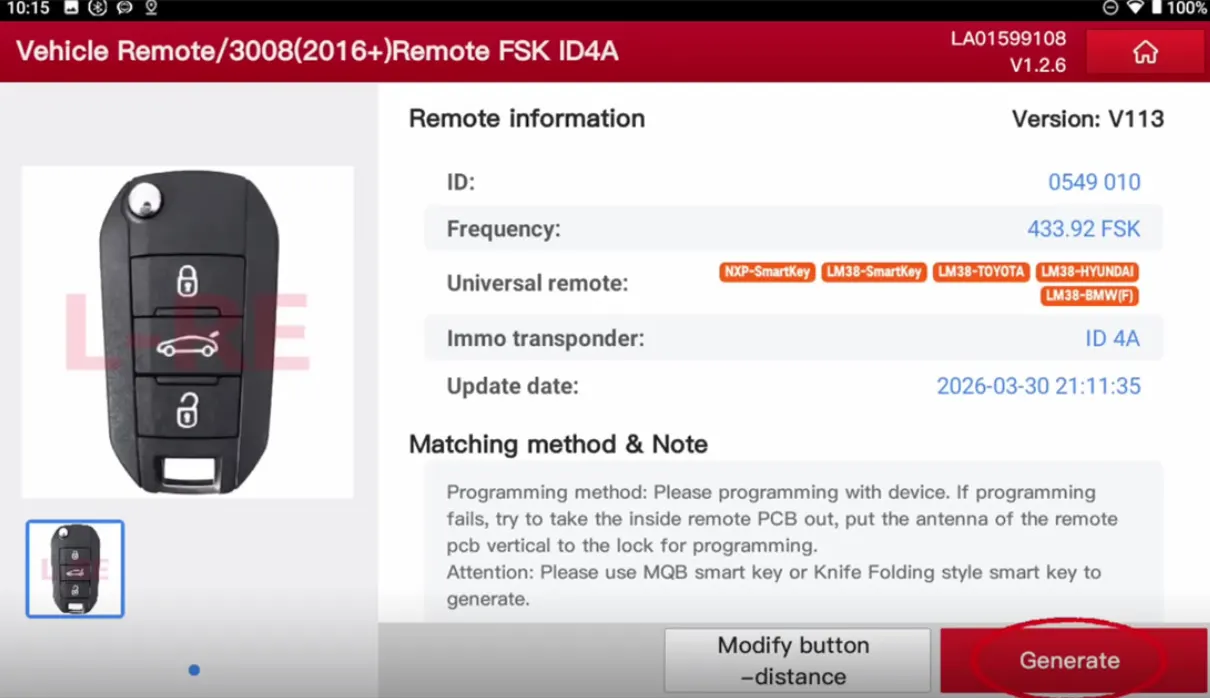
Place your new blank key into the detection slot or area on the X-PROG5 device. Once everything is connected and selected, click the “Generate” button. Wait a few moments while the system burns the remote data into the chip. This step ensures that the physical key will be able to communicate with the vehicle’s remote locking system.
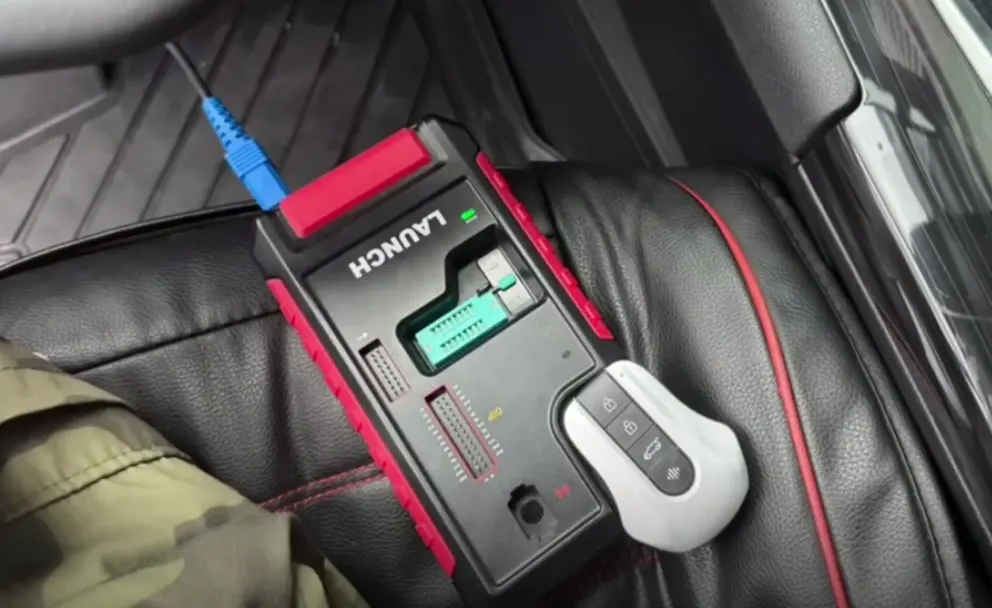
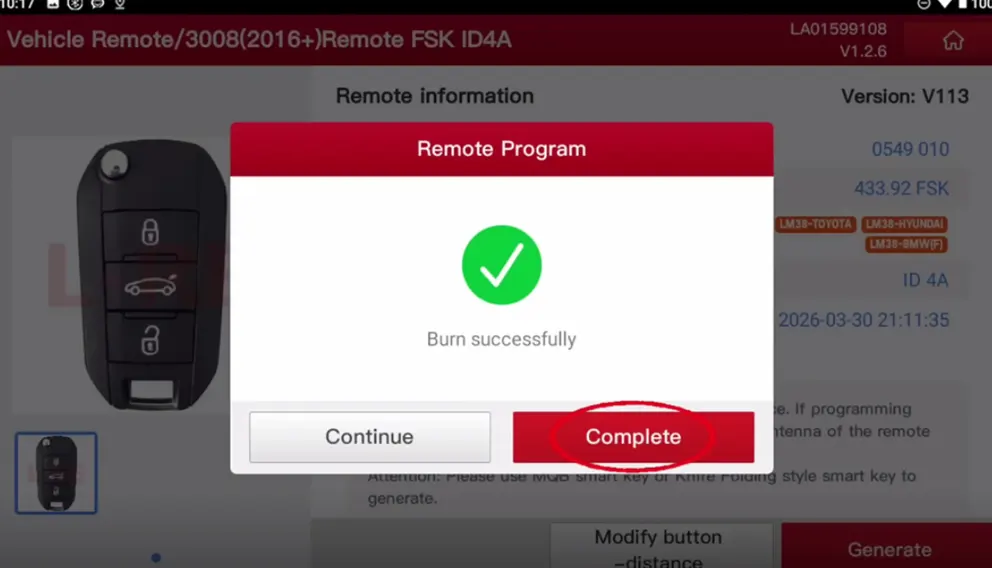
With the remote data successfully written, the next critical task is to retrieve the vehicle’s anti-theft PIN code. This 4-digit password is essential for the key matching process. Return to the main menu and navigate to: PEUGEOT → PEUGEOT V10.22 → Anti-theft Password Reading → All Lost Anti-theft Password Reading → BSI → Automatic Scan.
Before you proceed, pay close attention to these important notes:
Click “OK” to proceed. The system will instruct you to turn on the vehicle’s hazard lights (double-flash switch). Once you do, click “OK” again. The system will then read the security PIN. Make sure to write down the 4-digit anti-theft password immediately — you will need it in the next step.
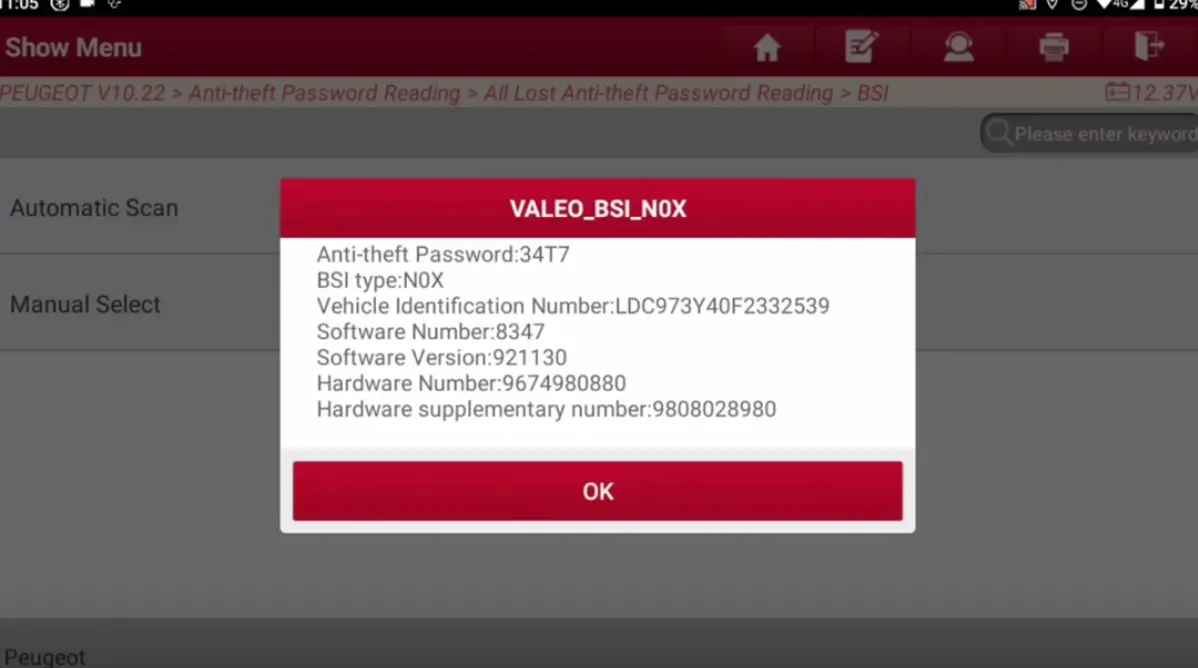
Now comes the most critical part of the process: matching the key to the vehicle’s immobilizer system. Return to the PEUGEOT menu and select “Anti-Theft Key Matching”. Confirm the vehicle’s VIN and model information, then select “Automatic Scan” and double-check the system details. Choose “Smart Key System” and turn on the hazard lights again, then click “OK”.
Warning: This function will clear all existing keys from the system. You must have all keys ready — including the original car key — because any key not present during this process will no longer be able to start the car. Click “OK” to clear the old key memory.
Enter the 4-digit confidential PIN code you read in Step 2. The software will verify the password. Next, input the total number of keys you want to learn. For example, if you are matching the original key plus one new key, enter 2.
Insert the smart key into the vehicle’s smart key card slot. Pro Tip: Always program the original car key first before matching the new key. Otherwise, the new key might lose its remote control and intelligent smart functions. Click “OK” when done. The X431 IMMO Plus tablet will show the current learned key count (for example, “Key number is 2”).
Remove the first key and insert the second smart card into the slot. The system will complete the learning process for the second key.
For each smart key, you must perform a manual synchronization to finalize the process:
Repeat this synchronization for every key you have programmed. Once completed, test each key to ensure that it locks, unlocks, and starts the vehicle properly.
The combination of the Launch X431 IMMO Plus and the X-PROG5 programmer is a powerhouse solution for automotive locksmiths and diagnostic technicians. The X-PROG5, as a dedicated key programmer, eliminates the need for multiple separate tools. It handles ECU cloning, key data reading, new key generation, and existing key unlocking — all in one compact device. When paired with the intuitive interface of the X431 IMMO Plus tablet, the entire workflow becomes streamlined and less error-prone.
What I appreciate most about this system is how it guides you through each step with clear on-screen instructions. The tablet provides real-time feedback, and the critical warnings (like battery voltage and network stability) help prevent common mistakes that could otherwise lead to failed programming or even module damage.
Adding a key to a modern vehicle used to require expensive dealer visits or specialized equipment that was out of reach for independent shops. With tools like the Launch X431 IMMO Plus and X-PROG5, that barrier has been significantly lowered. The process I’ve outlined above is straightforward, but it does require careful attention to detail. Take your time, follow each step precisely, and don’t skip the preparation checks.
Whether you're a professional locksmith, a mobile technician, or an ambitious car enthusiast, mastering this procedure will save you time, money, and frustration. The X-PROG5’s role as a reliable key programmer makes it an indispensable part of any modern diagnostic toolkit. With practice, this entire job can be completed in under an hour — and the satisfaction of successfully adding a key without a trip to the dealership is well worth the effort.
![[EU/UK Version] LAUNCH X431 PRO3 APEX Diagnostic Scanner Support Topology Map Online Coding CAN FD & DoIP HD Truck Scan with 37+Services](https://obd-1317370369.cos.accelerate.myqcloud.com/2025/24071017206802678579-450x450.jpg)